
What a pool leak detection inspection actually involves
Your pool is losing water, and you want answers. Maybe you have already heard someone mention a "dye test," and you assumed that was the whole story. It is not, and on a barrier island, treating it as the whole story can cost you thousands of dollars while the real problem keeps growing underground.
A proper pool leak detection inspection is a structured, multi-method process. Each method answers a different question, and no single method answers all of them. On the sandy, shell-laden, tide-influenced soils found under homes on Longboat Key, Lido Key, Siesta Key, Bird Key, and Anna Maria Island, that layered approach is not optional. It is the only way to be confident you have actually found the leak rather than just the nearest visible symptom.
This post walks through what that process looks like, why certain methods fall short on barrier-island ground, and what you should expect a qualified technician to do before anyone picks up a dye bottle.
First, rule out evaporation and splash loss
Before any leak detection method is used, a technician should confirm that the water loss is actually a leak. In Southwest Florida, evaporation alone can account for roughly a quarter-inch to a half-inch of water per day during hot, dry, or windy stretches, according to University of Florida IFAS Extension guidance on pool water management. Add splash from swimmers, backwash discharge, and filter cleaning, and a pool can lose what looks like a significant amount of water without a single crack in the shell.
The bucket test is the standard first step. A bucket of pool water is placed on a submerged step, marked at the same water level as the pool, and left for 24 to 48 hours with the pump running normally, then repeated with the pump off. If the pool loses more water than the bucket over the same period, you have a leak. If the losses match, you have evaporation and a different conversation to have.
This step matters because it calibrates everything that follows. If you skip it, you might spend hours chasing a "leak" that does not exist, or worse, you might do a dye test that shows nothing and conclude you are fine when the real leak is somewhere the dye never reached.
What a dye test actually does, and where it stops
A dye test uses a small amount of bright, non-staining dye injected near a suspected leak point while the pump is off and the water is still. If the dye gets pulled through a crack or gap, you can see it stream outward. It is a genuinely useful tool for confirming surface cracks in the plaster, gaps around fittings, and visible fractures at the waterline.
The problem is what it cannot see.
Dye tests are visual and surface-level. They require the technician to already be looking in roughly the right place. They work well at the shell surface and around penetrations like return jets, skimmers, and light niches. They do not tell you anything about underground plumbing, the condition of the pressure-side lines buried in the deck or under the pool slab, or what is happening at equipment connections buried below grade.
On barrier-island properties, the soils are highly permeable. Water escapes laterally before it surfaces. A plumbing leak under a concrete deck on Longboat Key can travel six or eight feet sideways through shell-laced sand before it reaches the surface, or it may never surface at all, discharging directly into the water table. A dye test at the pool shell will show nothing. The pool will keep losing water. The owner will keep adding water and wondering what is happening.
That is why dye tests, by themselves, are not enough.
Pressure testing: the most reliable method for underground lines
Pressure testing is the industry standard for diagnosing leaks in buried plumbing, and it is the method that should follow any inconclusive or incomplete dye inspection.
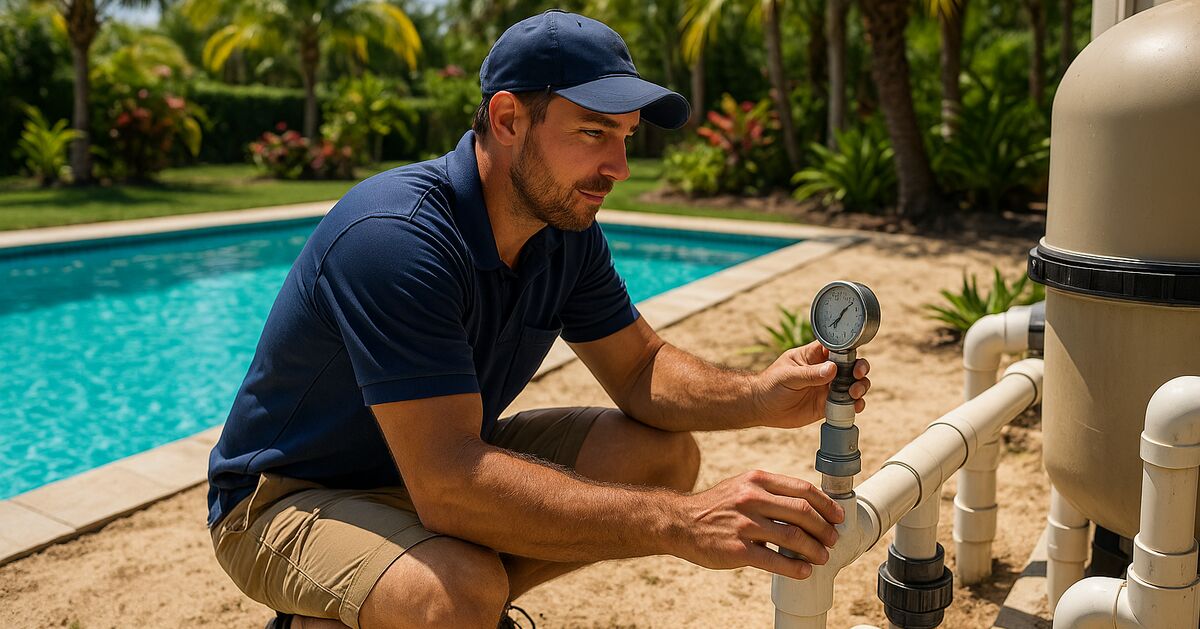
The technician isolates individual plumbing lines, plugs both ends, and pressurizes each line with air or water. A gauge reading is taken and monitored over time. If the pressure drops, the line is not holding, and you have confirmed a plumbing leak even before knowing exactly where it is.
This method works on every type of soil. It does not require the leak to express itself at the surface. It does not require the technician to guess where to look. It gives you a pass or fail result for each isolated segment of plumbing.
Once a line fails its pressure test, the next step is locating the breach. Leak specialists typically use electronic listening equipment, which can detect the sound of water or air escaping from a pressurized line through the surrounding soil. On barrier-island properties with loose, wet sand, this requires some patience and experience, because wet sand can muffle or scatter acoustic signals differently than clay or compacted fill.
Our pool cleaning and maintenance services team works with leak detection specialists who are familiar with these soil conditions. If you're unsure where to start, our FAQ page covers some of the common questions owners have before scheduling an inspection.
Why barrier-island soils complicate everything
Most leak detection guidance is written with inland pools in mind. On Longboat Key, Lido Key, or Siesta Key, the ground conditions are genuinely different, and they change the behavior of both the leak and the detection methods.
High water table. On a barrier island, the water table is often shallow and can rise further after heavy rain or a king tide event, based on typical local conditions. A pool plumbing leak that would saturate and stain a yard on an inland property may simply discharge into already-saturated ground and leave no trace on the surface at all. Owners sometimes assume that because they see no wet spots, there is no underground leak. The opposite logic is closer to the truth: a complete absence of surface wetness on a barrier island can mean the ground is already so saturated that the leaked water has nowhere visible to go.
Highly permeable sandy soil. Barrier islands are largely built on quartz sand and shell material. This soil drains quickly and does not hold its shape around voids. A plumbing breach under a pool deck can wash out a substantial void beneath the concrete before anything shows on the surface. By the time you see a settled or cracked deck section, the void may be significant.
Corrosion at penetrations. Salt-laden groundwater common to barrier islands can accelerate wear on fittings, gaskets, and the bond between PVC and concrete over time. The skimmer throat and the return fittings where plumbing passes through the shell wall are especially vulnerable. These are high-priority dye test locations on any island pool, and they should always be inspected even when the bucket test result is borderline.
Deck and coping movement. We have covered how pool coping grout fails faster on Longboat Key due to the combination of shifting soil and salt exposure. That same soil movement can stress buried plumbing at elbow joints and at points where lines transition from soft sand to harder substrate like a pool wall or equipment pad foundation. Pressure testing can reveal these stress-point failures even when nothing is visible from above.
What the inspection should cover, step by step
A complete leak detection inspection on a barrier-island pool should work through the following systematically.
- Bucket test or evaporation calculation to confirm actual water loss beyond normal evaporation
- Visual inspection of the shell surface, including the waterline area, plaster, and all visible fittings
- Dye testing at priority locations: skimmer throats, return jet fittings, main drain collar, light niches, step cracks, and any visible surface fractures
- Pressure testing of return lines, suction lines, and the main drain line individually
- Pressure testing of the backwash line if the pool uses a sand or DE filter
- Visual and dye inspection of equipment pad connections, particularly unions, valves, and any threaded fittings that have signs of mineral deposit or staining
- Acoustic leak location on any line that fails its pressure test
- Deck and coping observation for settled sections, hollow-sounding areas (a tap test), or cracks along grout lines that could indicate a void beneath
The technician should provide a written report that identifies which lines passed, which failed, where dye pulled, and what the next recommended step is. That might be a repair, a further investigation of a specific area, or in some cases a structural inspection if the shell itself shows significant cracking.
What a leak inspection is not
A leak detection inspection is not a repair. It is a diagnostic. Some owners conflate the two and feel frustrated when the inspection ends without the leak being fixed. The inspection tells you what you have and where it is. The repair is a separate scope of work, and its cost depends entirely on what the inspection finds.
It is also not a pool inspection in the pre-purchase sense, which covers the overall condition of the equipment, surface, and structure. If you are buying a home on Bird Key or Siesta Key and want to know the full picture, you want both. Our pool cleaning and maintenance services page can help you understand the difference and connect you with the right resource for each.
Common mistakes owners make before calling for an inspection
A mistake that comes up again and again in owner conversations is adding water for several weeks without doing a bucket test first. By the time a technician arrives, the owner cannot accurately describe how fast the pool is losing water, which makes calibrating the inspection harder.
Another common problem is assuming that if the pool holds water with the pump off, the leak must be in the plumbing rather than the shell. In reality, a shell crack below the skimmer throat can still leak with the pump off if the water level is above the crack. A crack at or above the main drain level may only show significant loss when the pump circulates water under pressure. The pump-on versus pump-off comparison during the bucket test gives the technician a first clue about where to look, but it is not a definitive answer.
A third issue is patching visible surface cracks with hydraulic cement or pool putty and then being surprised when the water loss continues. Surface cracks are often symptoms of movement or plumbing pressure, not the primary cause of water loss. Patching the visible crack without pressure testing the plumbing is treating the messenger. If you are noticing surface cracking alongside water loss, it is worth reading about what causes pool surface blistering and why Gulf-coast pools see it more, because some of the same underlying forces are at work.
How often should you check for leaks proactively?
You do not need a leak detection inspection every year if your pool is not showing signs of water loss. However, there are specific moments when a proactive inspection makes sense.
After a major storm or hurricane, shifting soil and pressure changes can stress plumbing joints. If you are buying a home, especially on a barrier island where pools have been through years of storm exposure. If you notice your pool is consuming unusually high volumes of fill water during periods of low evaporation. If your water chemistry is consistently hard to balance despite correct chemical additions, because water loss and constant refilling affects chemistry in ways that can look like other problems.
Our team serves Longboat Key, Lido Key, Anna Maria Island, and the surrounding communities. If your pool is showing signs of unexplained water loss, the right first step is a proper inspection, not a guess. Get in touch with us and we can walk through the symptoms with you before scheduling anything.
The bottom line
A dye test is a useful tool in the right hands and in the right situation. On its own, it cannot tell you what is happening under your pool deck, inside your buried plumbing, or at any fitting that is not directly visible through still water. On barrier-island soils where the ground shifts, saturates, and hides lateral water movement, relying on dye alone means you may declare a clean bill of health while a plumbing line continues to fail underground.
A complete inspection combines evaporation confirmation, systematic dye testing, pressure testing of every plumbing circuit, acoustic location where needed, and a written result you can act on. That is what you deserve to get when you call a professional, and it is the standard we hold ourselves to across every pool we serve on the barrier islands and in Sarasota.
If you are wondering what else goes into keeping a barrier-island pool healthy all year, the Longboat Key Pool Service blog covers the full range of topics that matter in this environment, from chemistry and equipment to surfaces and structural concerns.
Sources & further reading
- Residential Swimming Pool Water Conservation and Evaporation (University of Florida IFAS Extension)
- Swimming Pool Operation and Maintenance Guidelines (U.S. Environmental Protection Agency)
- ANSI/APSP/ICC-7 American National Standard for Suction Entrapment Avoidance in Swimming Pools (Association of Pool & Spa Professionals (APSP))
- Florida Building Code - Residential Swimming Pools and Spas (Florida Department of Business and Professional Regulation)
- UF/IFAS Extension (named in this article) (UF/IFAS Extension)
Claim-by-claim audit (5 checked)
- “In Southwest Florida, evaporation alone can account for roughly a quarter-inch to a half-inch of water per day during hot, dry, or windy stretches, according to University of Flori…” (cited → edis.ifas.ufl.edu)
- “On a barrier island, the water table is often shallow and can rise further after heavy rain or a king tide event, based on typical local conditions.” (rewritten to what the article can stand behind)
- “A plumbing breach under a pool deck can wash out a substantial void beneath the concrete before anything shows on the surface.” (reasoning shown in the article)
- “Salt-laden groundwater common to barrier islands can accelerate wear on fittings, gaskets, and the bond between PVC and concrete over time.” (rewritten to what the article can stand behind)
- “Pressure testing is the industry standard for diagnosing leaks in buried plumbing, and it is the method that should follow any inconclusive or incomplete dye inspection.” (reasoning shown in the article)